
“Out for delivery”, three words anyone loves seeing, especially if it’s a new bow in that truck. Twice now I have ignored my own advice and switched bows late in the game. Last season I ended up scoring a great deal on a bow in late October, two weeks later I had an 8 point whitetail buck lying underneath that bow. This year I ended up making the switch ten days before a series of 3D events. In this article, I would like to cover how to learn a new bow, and how to prepare yourself to be lethal with that bow.
There is a massive difference between picking up your bow two weeks before a hunt after leaving it in the closet all year and switching bows close to a hunt. No matter which bow is in my hand, I am shooting at least 200 arrows per week all year long. My fundamentals are sound and my knowledge of equipment is adequate. From my time working in the archery department at a big outdoor store, I have seen my fair share of neglectful archery endeavors. One in particular sticks out in my memory. A guy walked up to the bow counter on September 1st, said “I just bought an archery tag and we’re going hunting in two days. I need a bow, this is my first ever bow.” As my heart sank and eyes likely rolled around inside my skull, I hesitantly began to offer my guidance. To clarify, the above example is not what I’m referring to when I speak of learning a new bow.

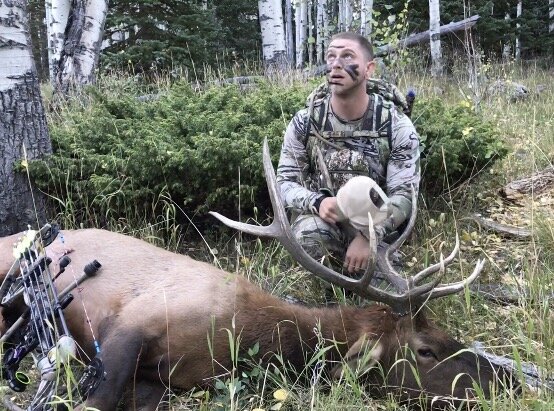
My buck I was able to take with a bow I owned for less than two weeks.
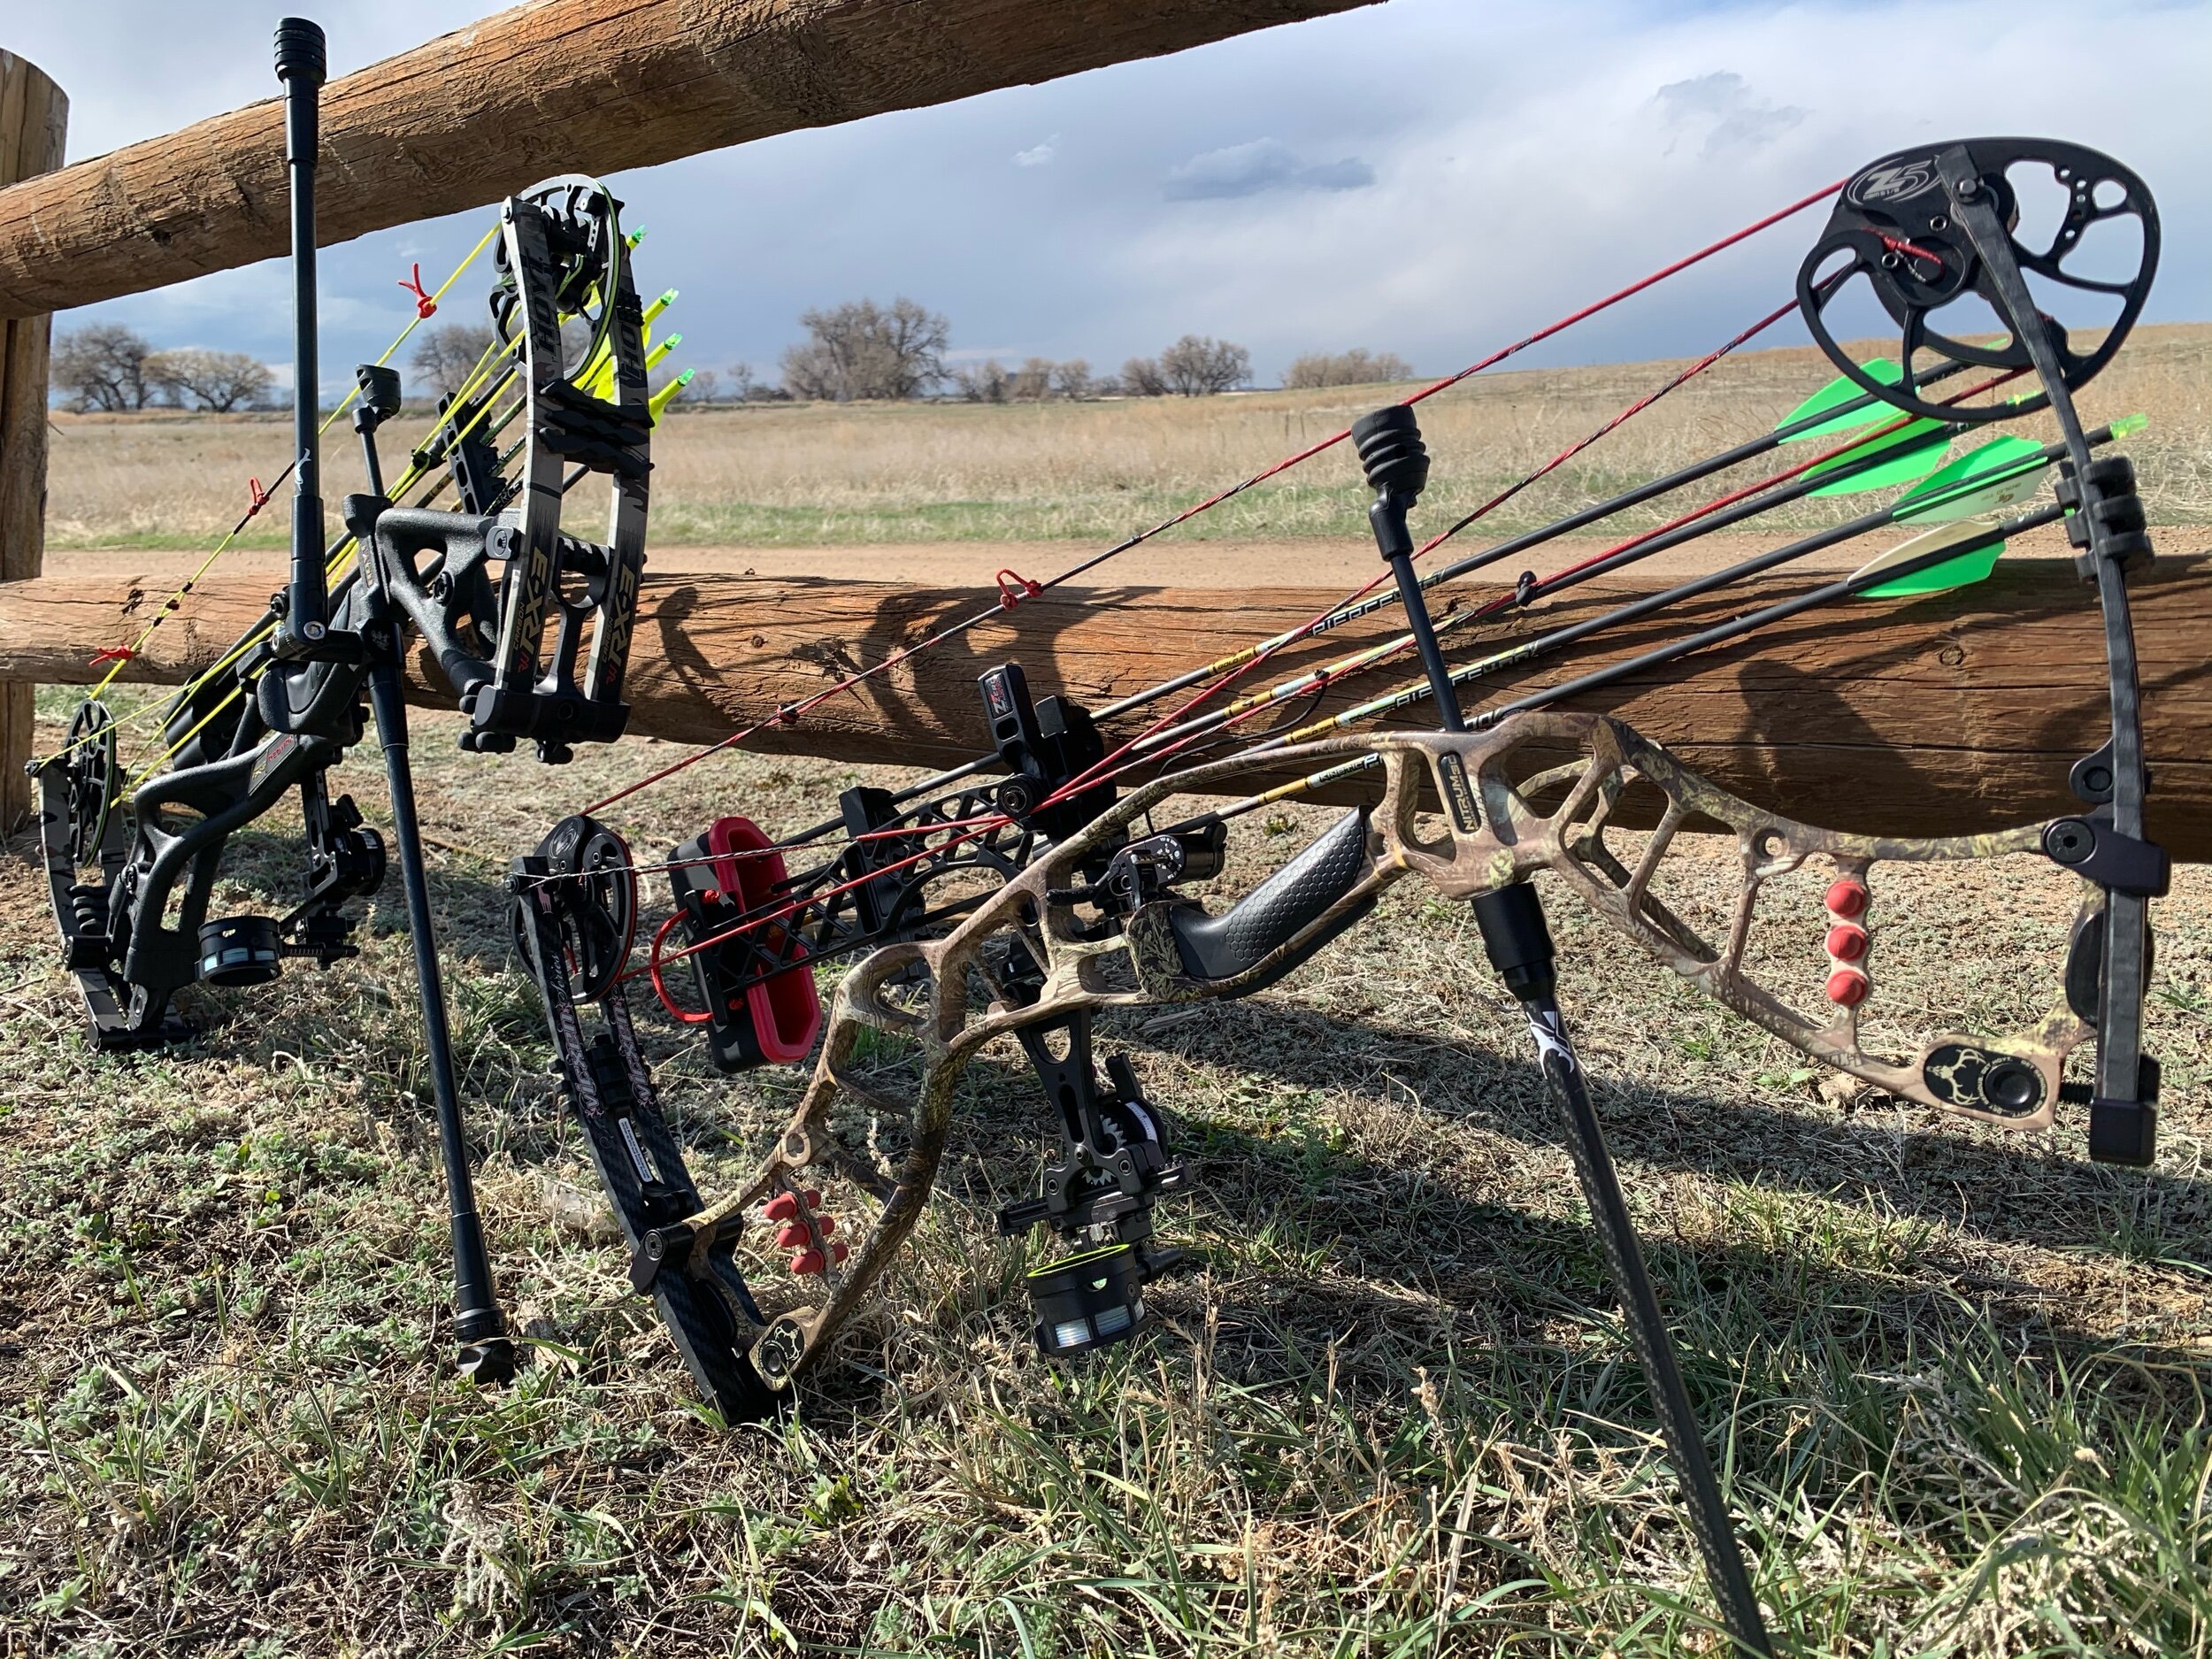
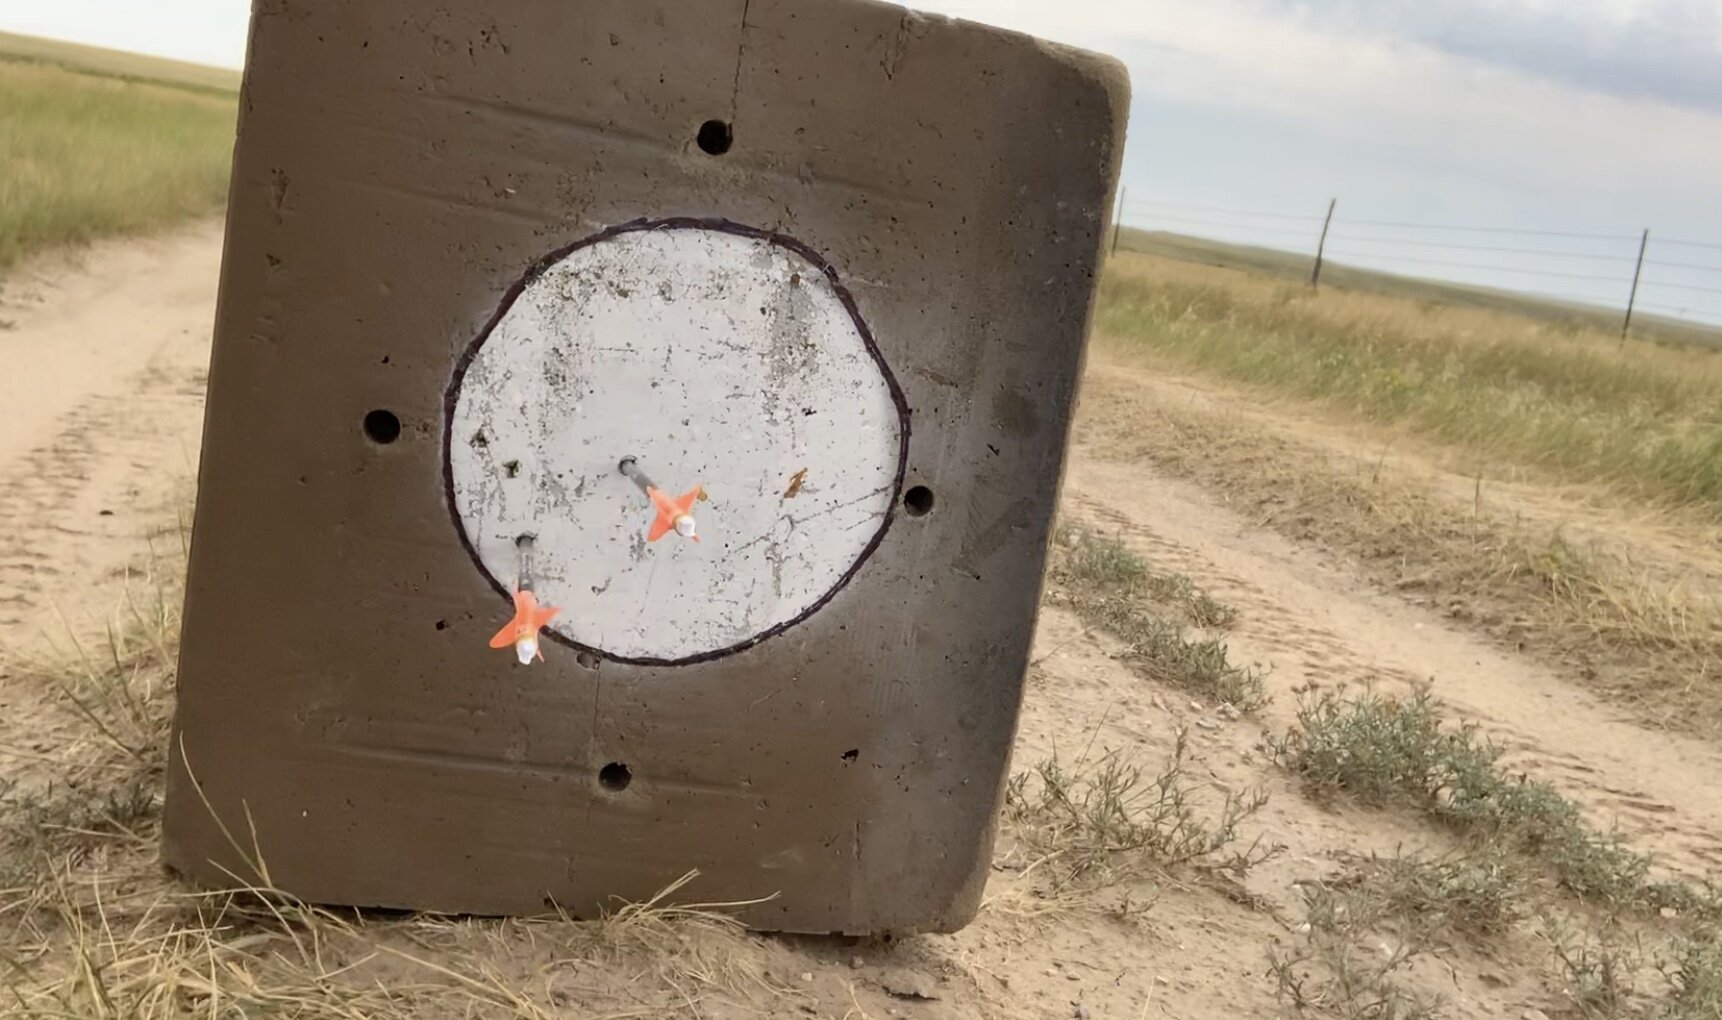
Upon the arrival of that much-anticipated delivery, I immediately inspect the bow, study the cams, the grip, the string and cables, and try to figure out how it all works. Typically with any new bow, I will replace the factory strings with a good aftermarket set, especially with a pre-owned bow. This ensures I am starting with a clean slate and any wear or stretch will be caused by my use, not the unknown of the previous owner. After the string swap, it’s time to tune. My process is very diligent and thorough, paper tune, bare shaft, and finally group tuning.

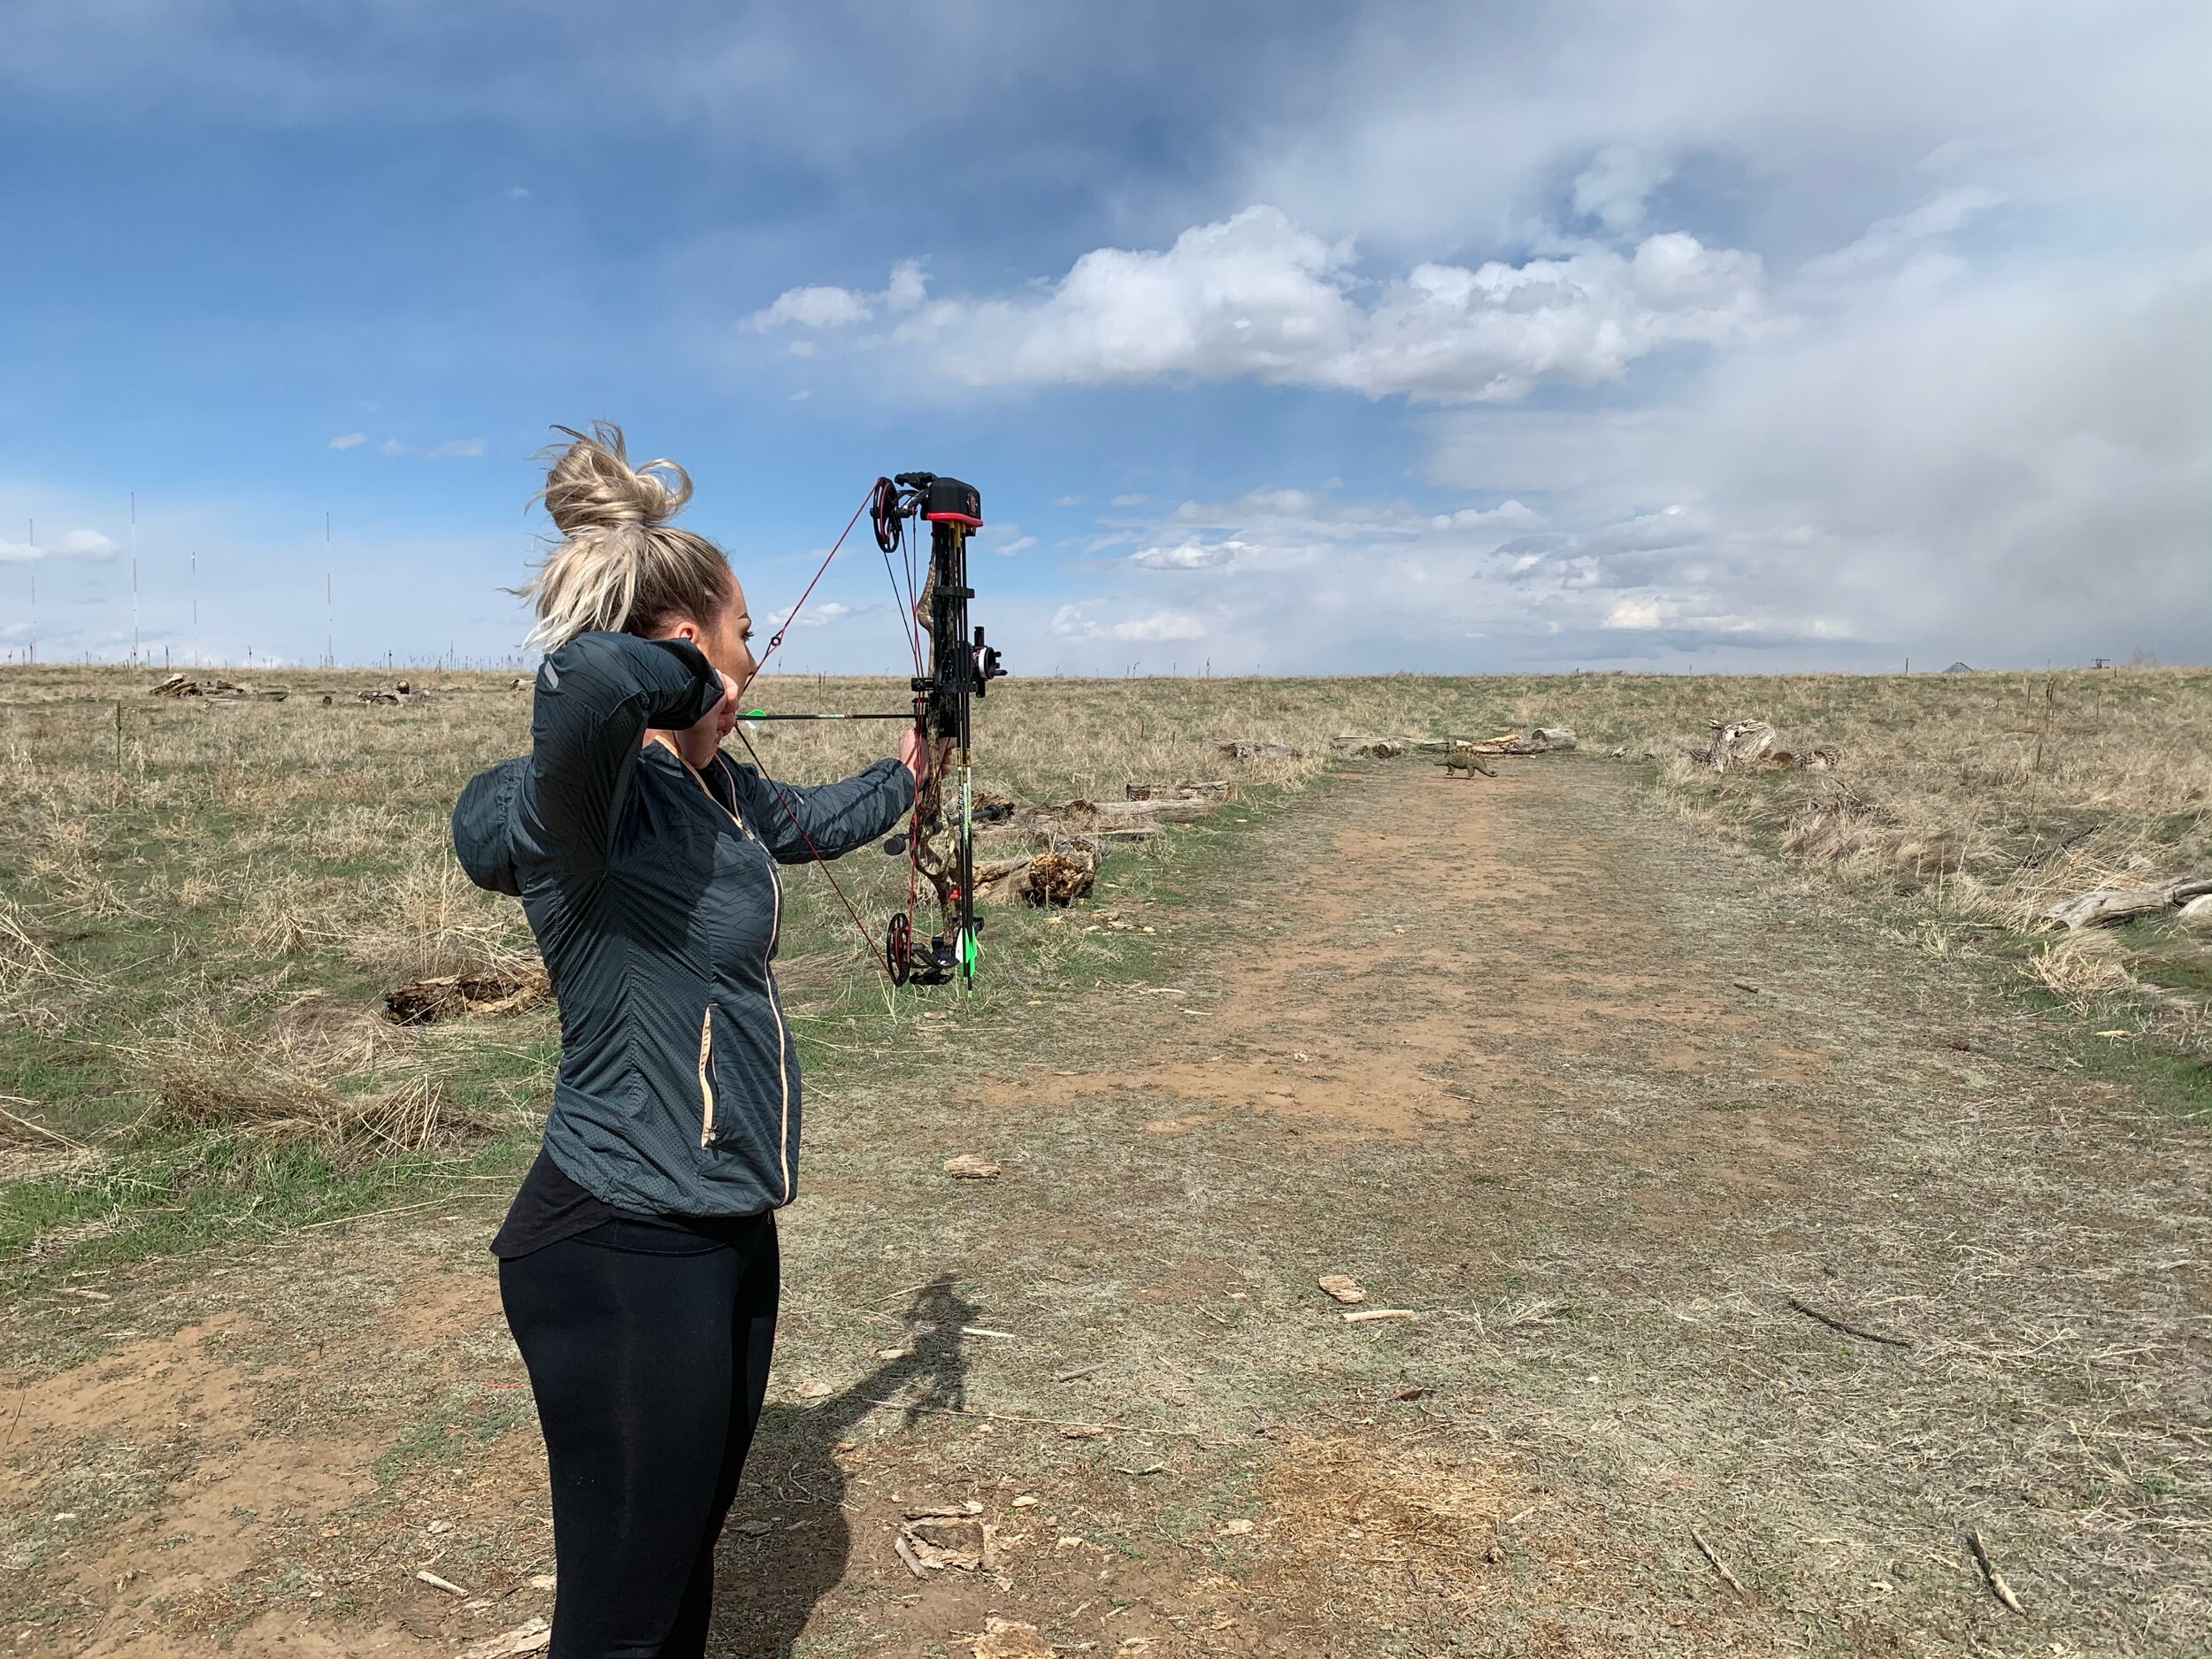
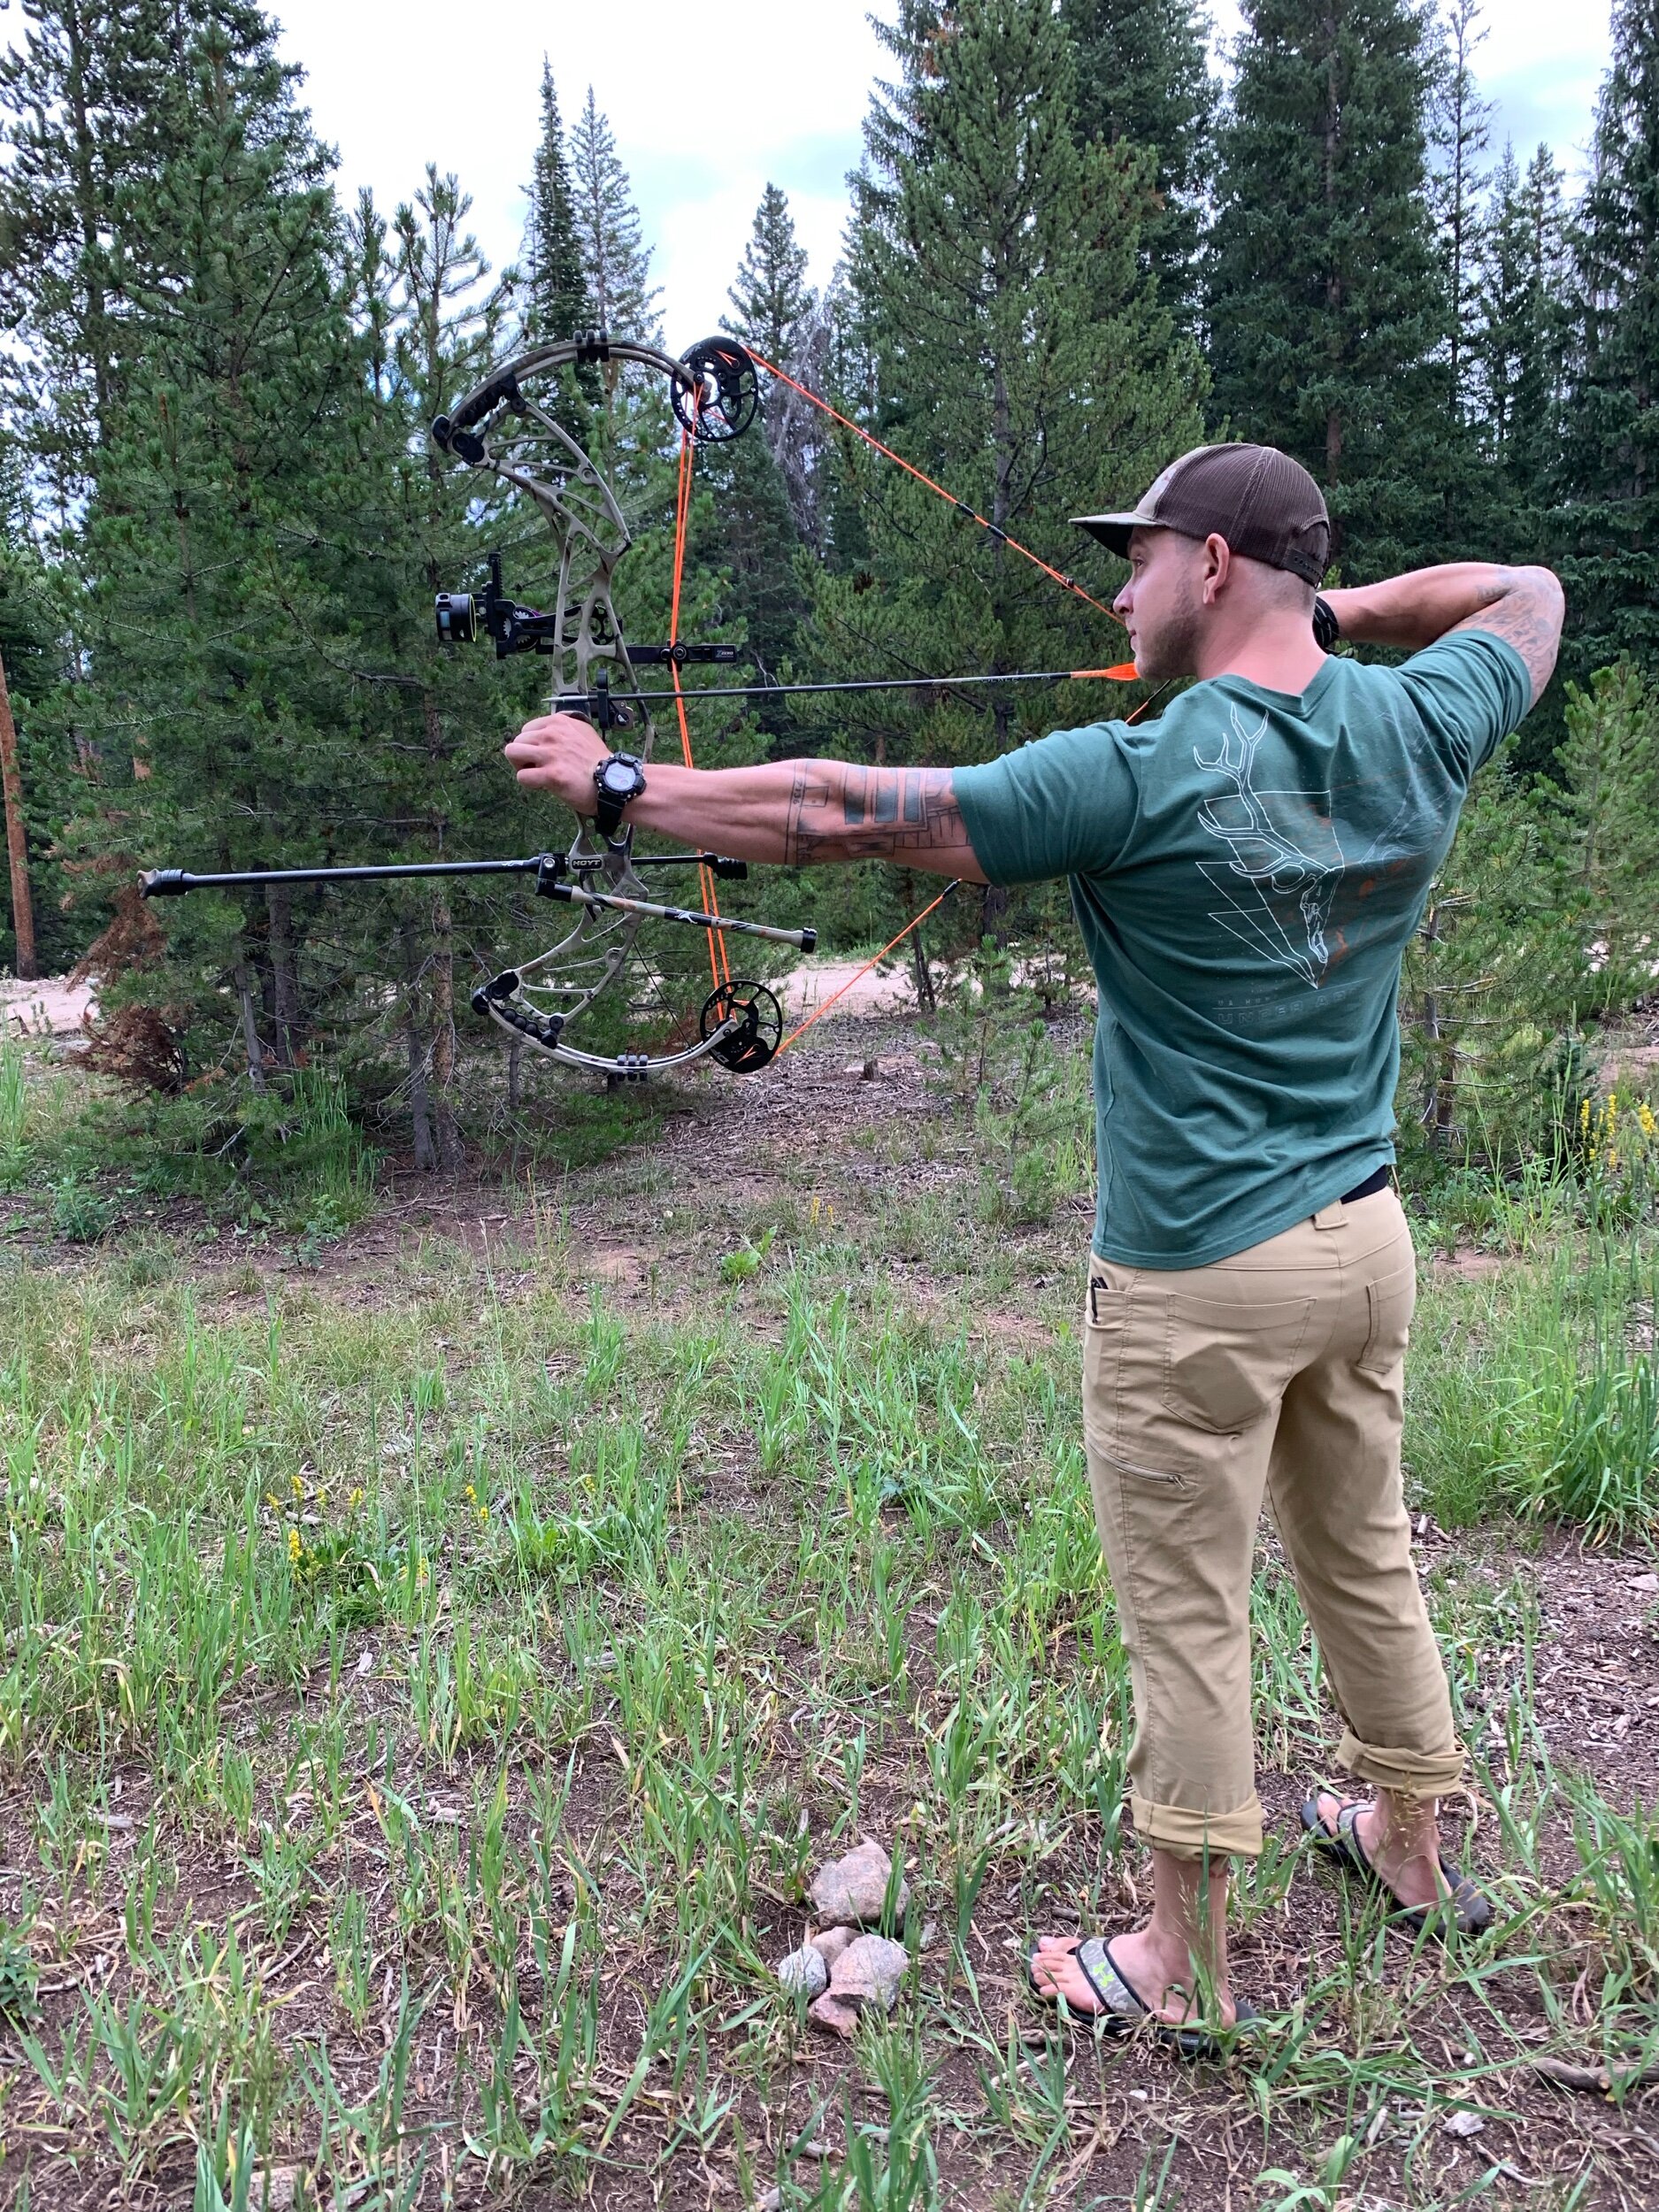
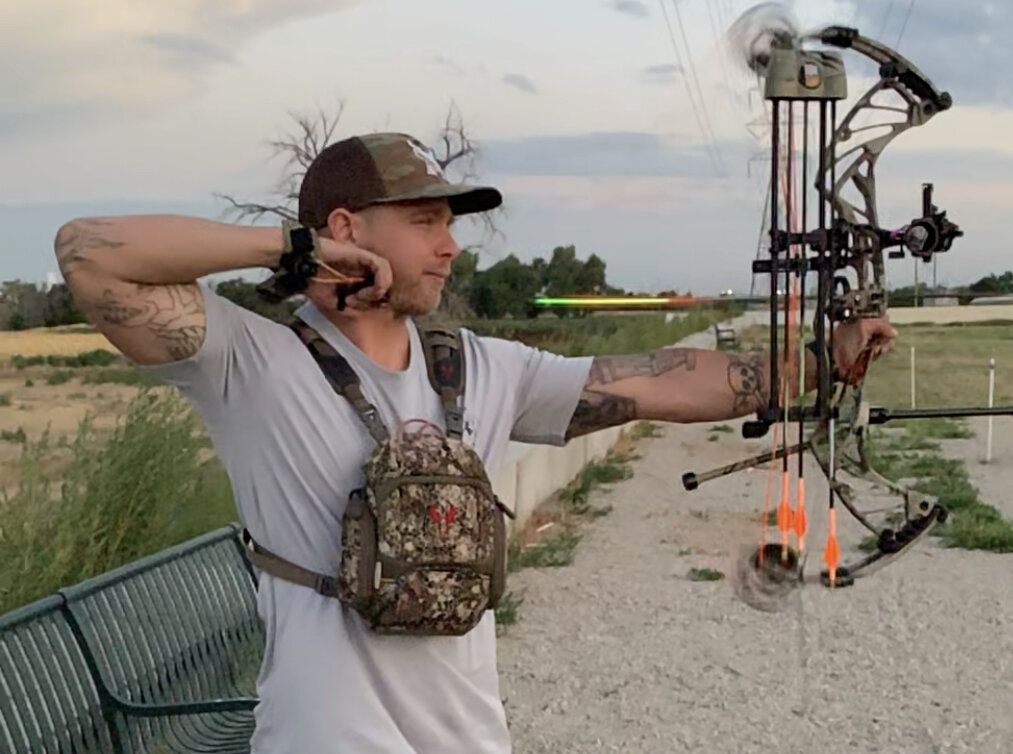
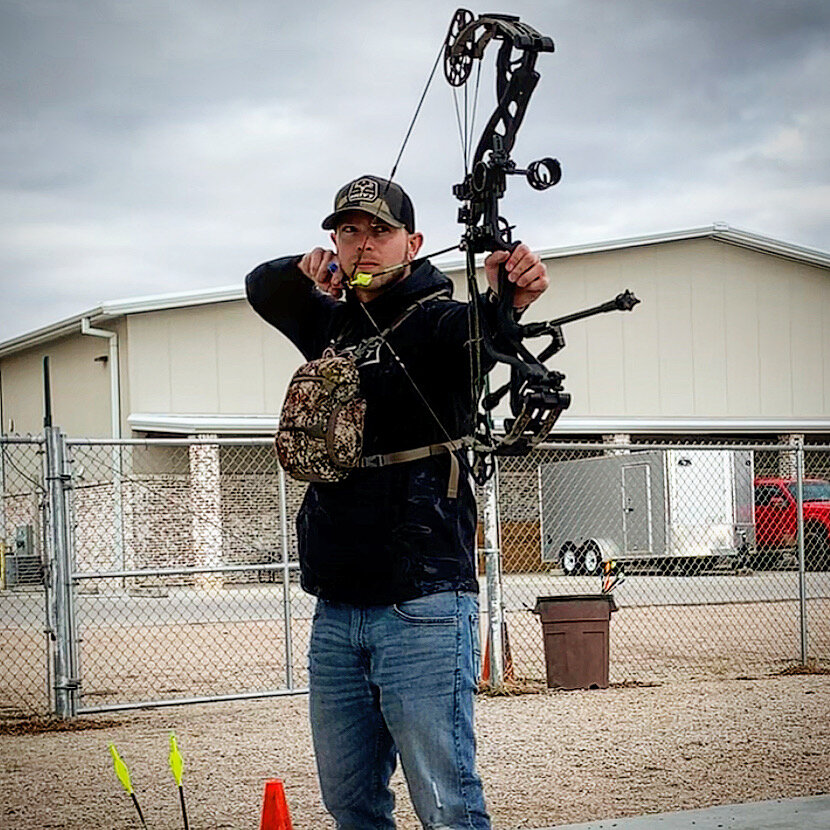
Shooting the new bow is of course the most important for learning it. The obvious answer is sending a LOT of arrows down range, but also being aware while you do so. How does the bow hold on target, where does your hand feel most natural on the grip, and how responsive is the back wall? This is all relatively high level information that you must first have a baseline for comparison, so in this instance, we are talking to archers with notable previous experience. Making the switch from a Hoyt to a Mathews was quite the change, especially on the tuning side. The draw cycle was different, the bow held differently, and the grip interfaces with my hand differently. In the ten days I have had my Mathews I have shot nearly 500 arrows, so I feel that I really have learned the basics of how to shoot it accurately, not to mention it took all of four arrows to get a perfect bullet hole through paper! Aside from the grip, the largest, most noticeable difference from one bow to another is often the back wall and valley. How dynamic does the wall allow you to be? I know the wall on the Mathews is considerably more solid than my previous Hoyt, so in order to pull through the shot, it requires a different level of resistance, with less feedback. These are the tiny details that you should be looking for.
As with anything, the more you do it, the better and more comfortable you will become. The name of the game is consistency here, and breaking in a new set of strings in three days was my motivation to shoot lots of arrows. Of course, it is always better to be fully in tune and familiar with your bow entering a hunt, but if for any reason you find yourself with an unfamiliar rig in your hand a couple weeks before the season, spend the time, put in the reps, and pay attention to the small stuff. You will be just as confident as you were with your old bow in no time.