Our very first article was titled “stabilization 101”, so it is only fitting that while we advocate evolution and improvement of our skills, we also emphasize the same when speaking to our knowledge regarding our setup. If you have not yet read the first article, click the button below and get up to speed. The purpose of this article is to expand and dive deeper into what different stabilization options do in terms of your specific setup.
The benefits and initial setup of a stabilizer system are now well within your understanding. Perhaps you are currently running a front bar and a back bar setup and have achieved a desirable balance, perhaps you are still on the fence as far as running longer stabilizers. At full draw, the bow holds well, the pin moves slowly, and after the shot is fired, the bow responds pleasantly. But what if it could get BETTER? Now we are talking the obsessive, “student of the game” school of thought that we love here at Cutter Stabilizers.
First, we need to dive deeper into stabilizer length, and more specifically, what happens to your bow with various length combinations. In the beginning phases of Cutter, I took every single length we offered, ran them as front and back bars, and put them to the test in all available arenas. What I found was somewhat surprising in the sense that there is a point of diminishing returns on a particular setup.
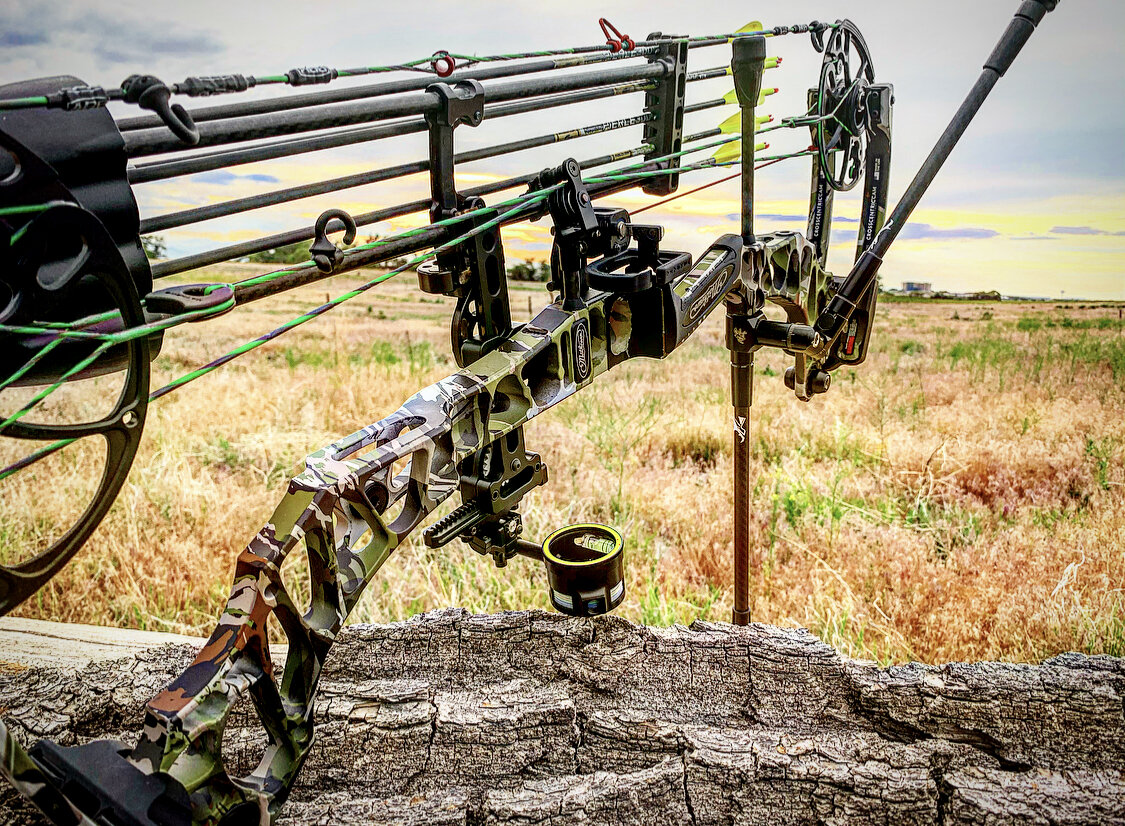
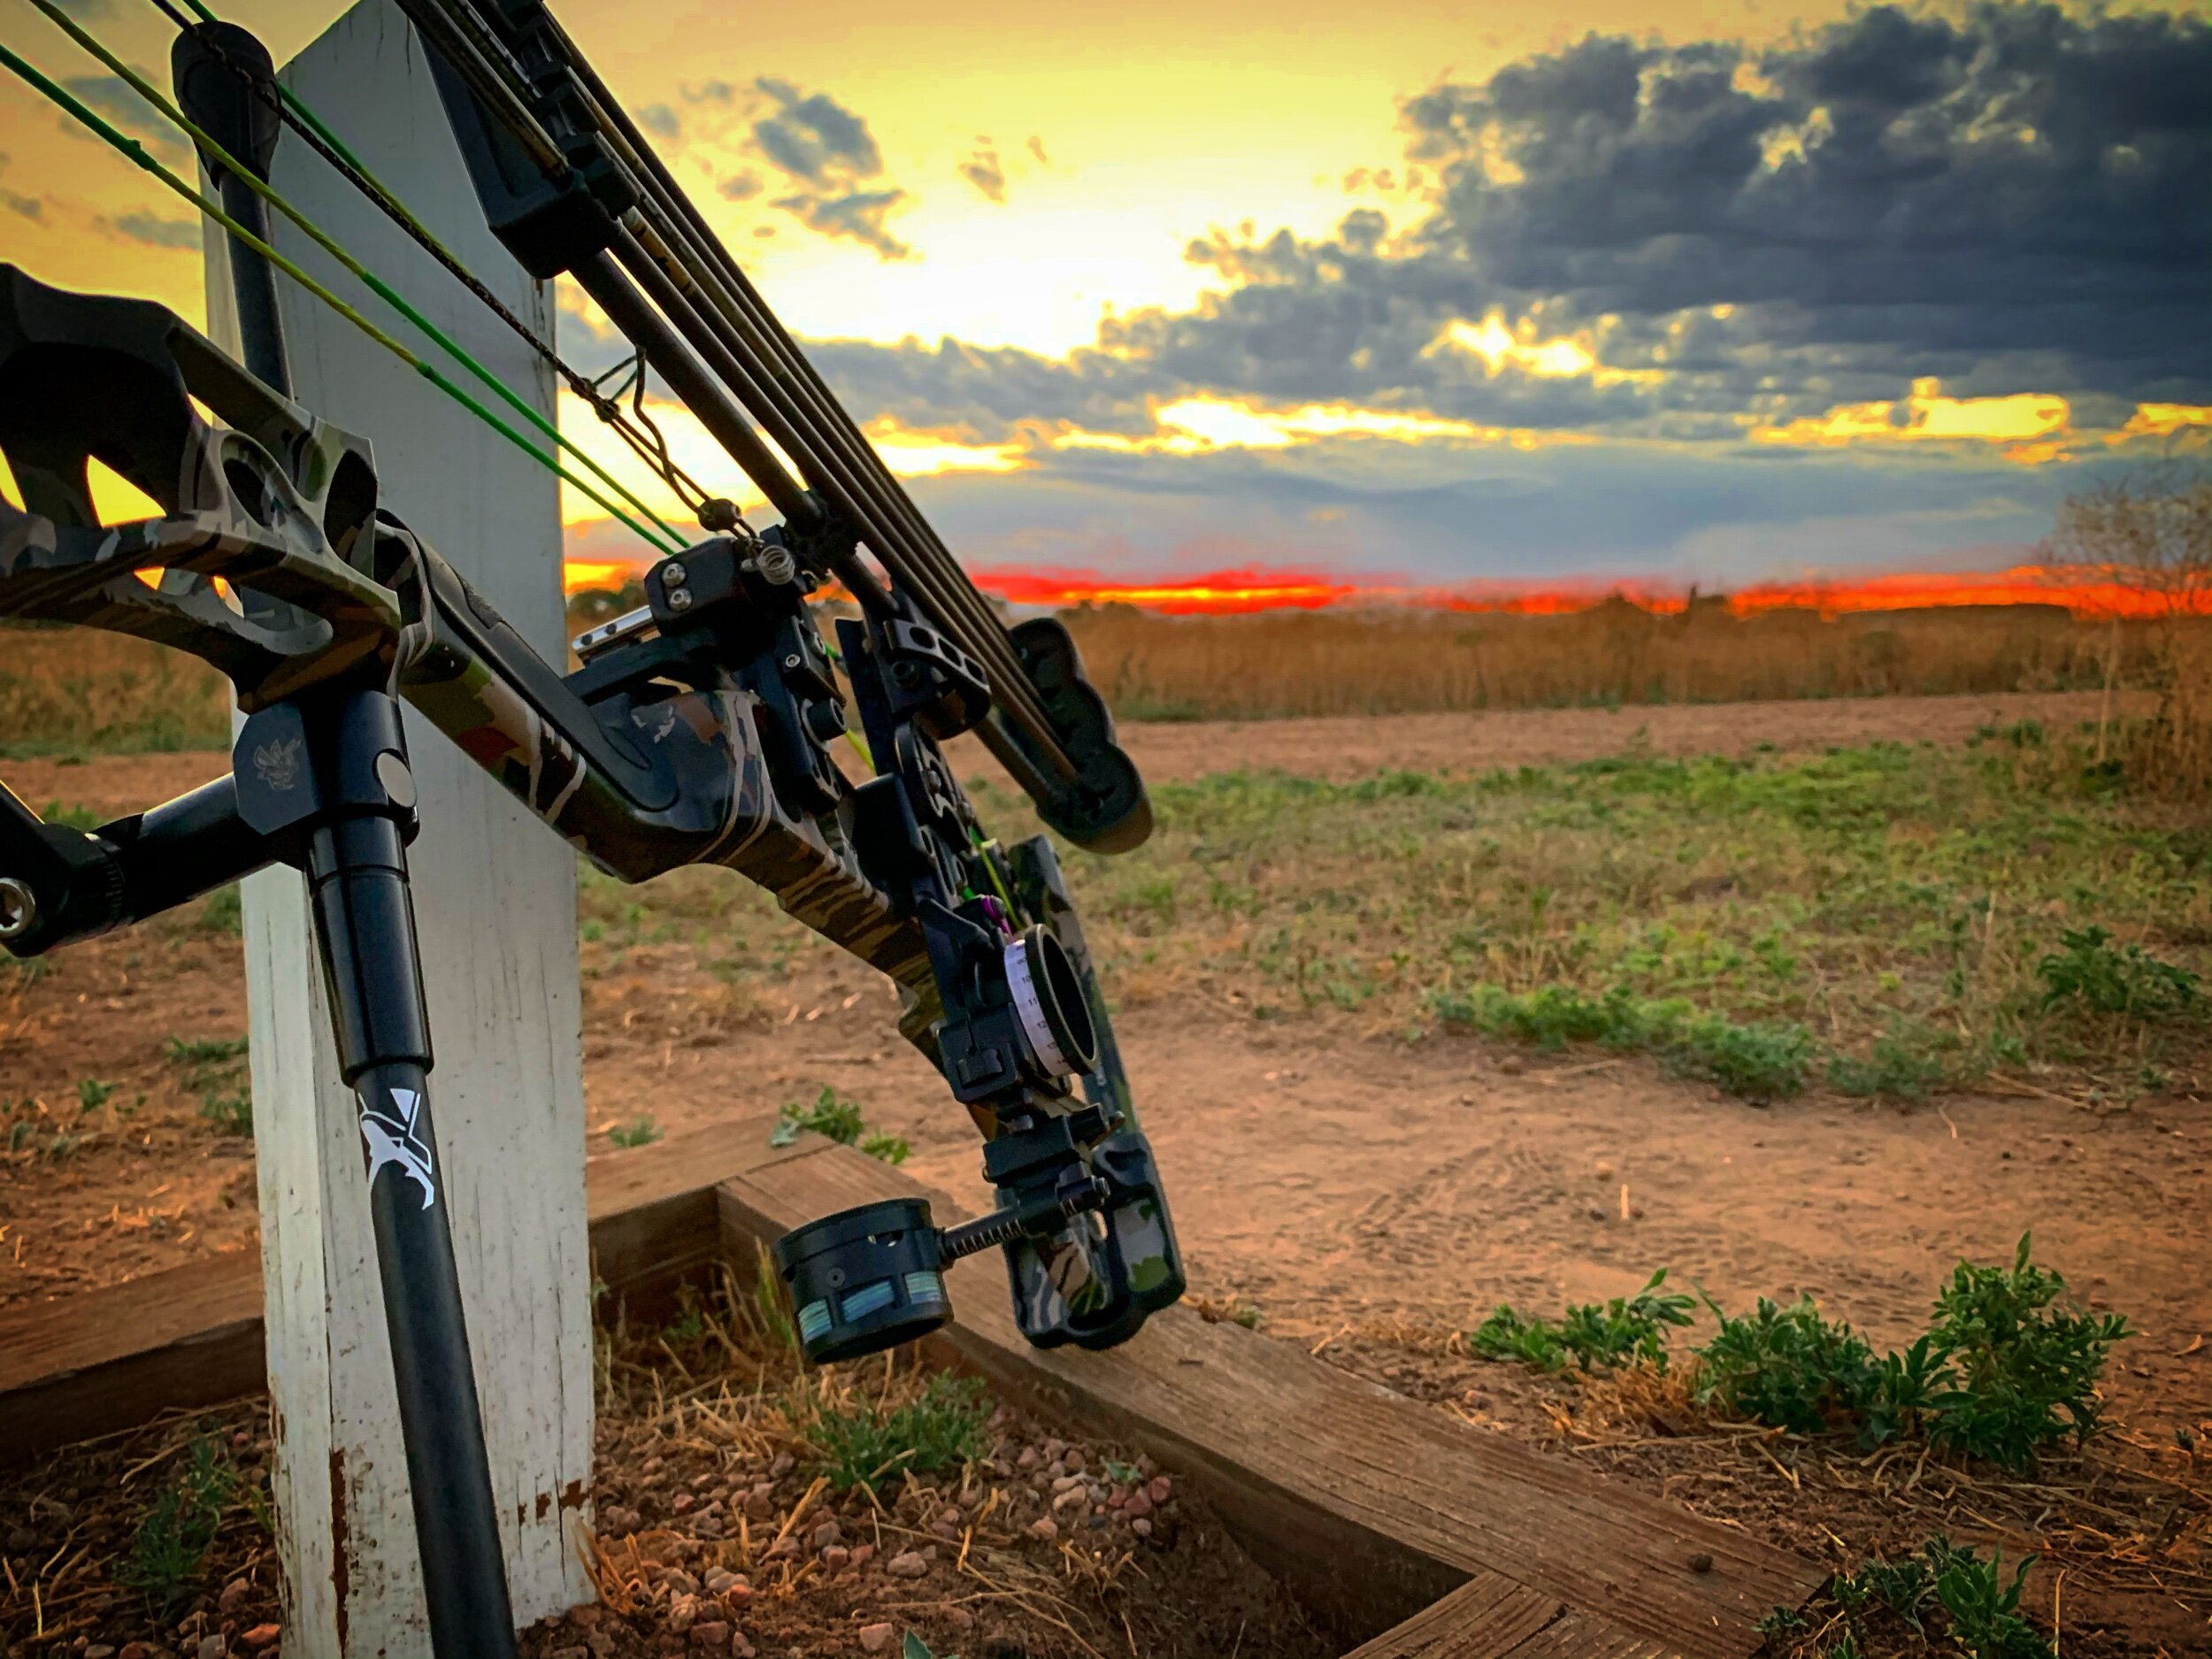
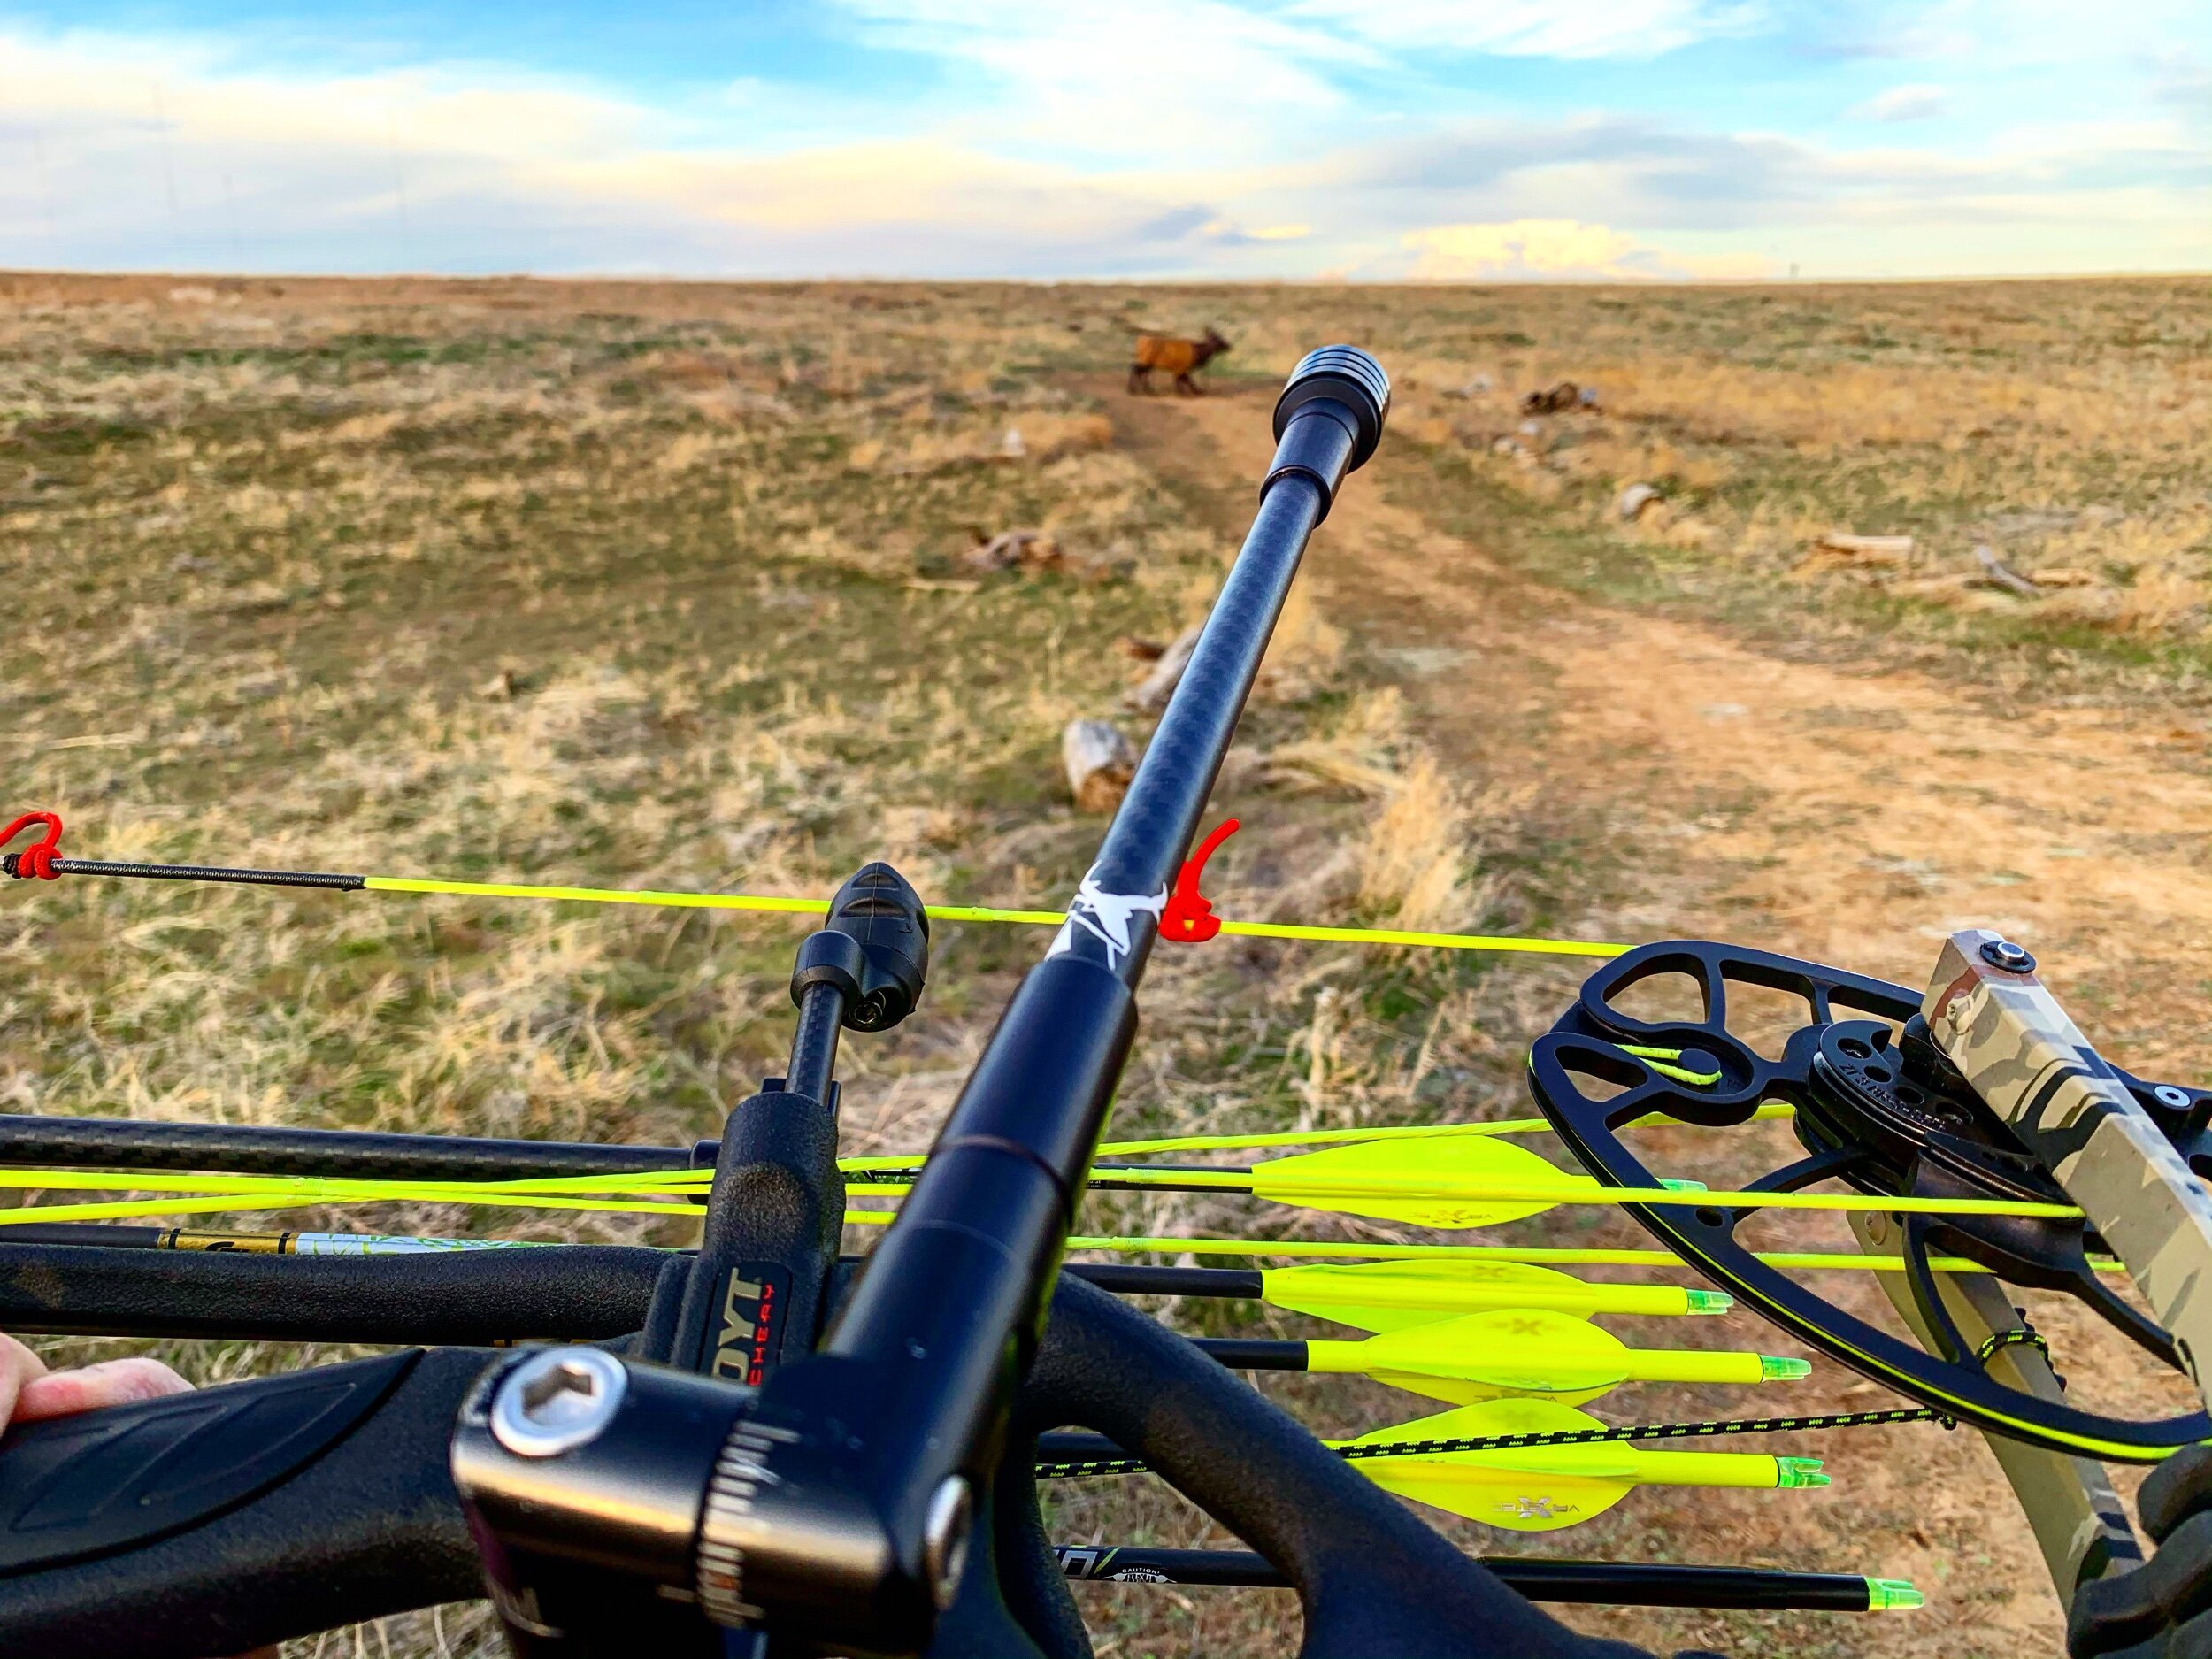
Having a great understanding of how your specific bow reacts statically (pre shot) and dynamically (post shot) is crucial to establishing a baseline. Some bows are simply more top heavy than others and will require a different configuration than one that is bottom heavy. First, with your existing stabilizers, remove all external weights, then return to your grip test from the first article and decide how the bow performs from a static position. Next for the dynamic reaction, shoot the bow at close range without any wind. This will tell you where the bow wants to go naturally, and with our stabilizers, the presence of keeping your bars attached is irrelevant due to their ultralight construction. To determine what length front bar is best for you, consider your application: 3D, spot and stalk hunting, or tree stand/ blind hunting. Next, decide if overall bow weight is a factor, for me it is not. Having a steady holding bow for what could be a once in a lifetime opportunity is priceless and frankly, a few extra ounces are not enough to change my decision. Remember, the longer the bar, the less weight you will need to accomplish the same result. By extending the weight from the bow further, you are creating the effect of more mass weight. A longer bar is more responsive to macro movements, and less responsive to micro movements. For example, getting your pin onto the vitals of an animal is a macro movement, keeping it there is a micro movement. This means that with a longer stabilizer, target acquisition is fast and pin float is slow. To choose a back bar, simply go by the general rule of 2:1. 2oz rear weight to 1oz front weight. As a basic guideline for a hunting application, an 8” back bar will require 6-10oz of weight to offset your front bar, so decide on front bar length first. Since our stabilizers are so light, they are much more responsive to external weight since ALL of the weight is out on the end where it belongs.
Determining how much weight to run on each stabilizer is slightly more complex than simply balancing the bow. Of course, that is the primary purpose, but furthermore, decreasing the float pattern of your pin on target is paramount. For example, if too much weight is added to the front bar, you will likely need to fight to keep your pin from falling out of the bottom of the target. Too much weight on your back bar will often result in opening up your pin float pattern. We need to dig a little bit deeper into just what a pin float pattern entails.
Every archer has a slightly unique pattern that their pin naturally moves around the spot in which they were aiming. This is somewhat of a high level thing to pick up on, and you must be very observant to pick up on your float pattern. For example, my personal float pattern typically is linear (from side to side). In order to allow your pin to float freely, you must maintain focus on the target rather than your pin. By focusing on the target, your pin will remain closer to the spot in which you are aiming. Focusing on your pin will result in a “forced” float pattern, or the action of fighting your pin to return to the spot. You can equate this to driving a car, look at the lines too long and you will swerve much easier than maintaining focus a ways down the road in your path of travel.
Now that we have established what float pattern means, and hopefully identified our float pattern, we can return to the matter at hand. Adding too much weight to your back bar can actually INCREASE the size of your pin float. It will be slow, but it will also be difficult to keep tight on the spot. This occurs due to the fact that the physical presence of external weight overrides our brain’s subconscious ability to maintain focus on a spot, remember this is stabilization 201 after all!
In order to get the absolute peak of accuracy potential out of your stabilizer setup, we need a few constants: a baseline for pin float pattern size, a baseline for bow balance, and a general understanding of how your bow will be used most. In the majority of hunting setups, 8-16 total ounces is enough to effectively stabilize any bow. Since writing the first article, I have switched bows (twice), but we will leave that alone for now. I am now shooting a Mathews Vertix that balances and holds better than any bow I have ever owned. My recipe ended up being a 12” front bar with 3oz weight, and a 10” back bar with 5oz weight. My back bar is angled down approximately 20 degrees and angled away from the bow about 25 degrees. Even with a full quiver in a stiff wind, that pin will just sit on the spot even well outside of 60 yards. If you are ready to seriously reflect and observe your own shooting, then you have taken the first step towards building your most accurate setup ever, and all of us here at Cutter Stabilizers are excited to help you build it.