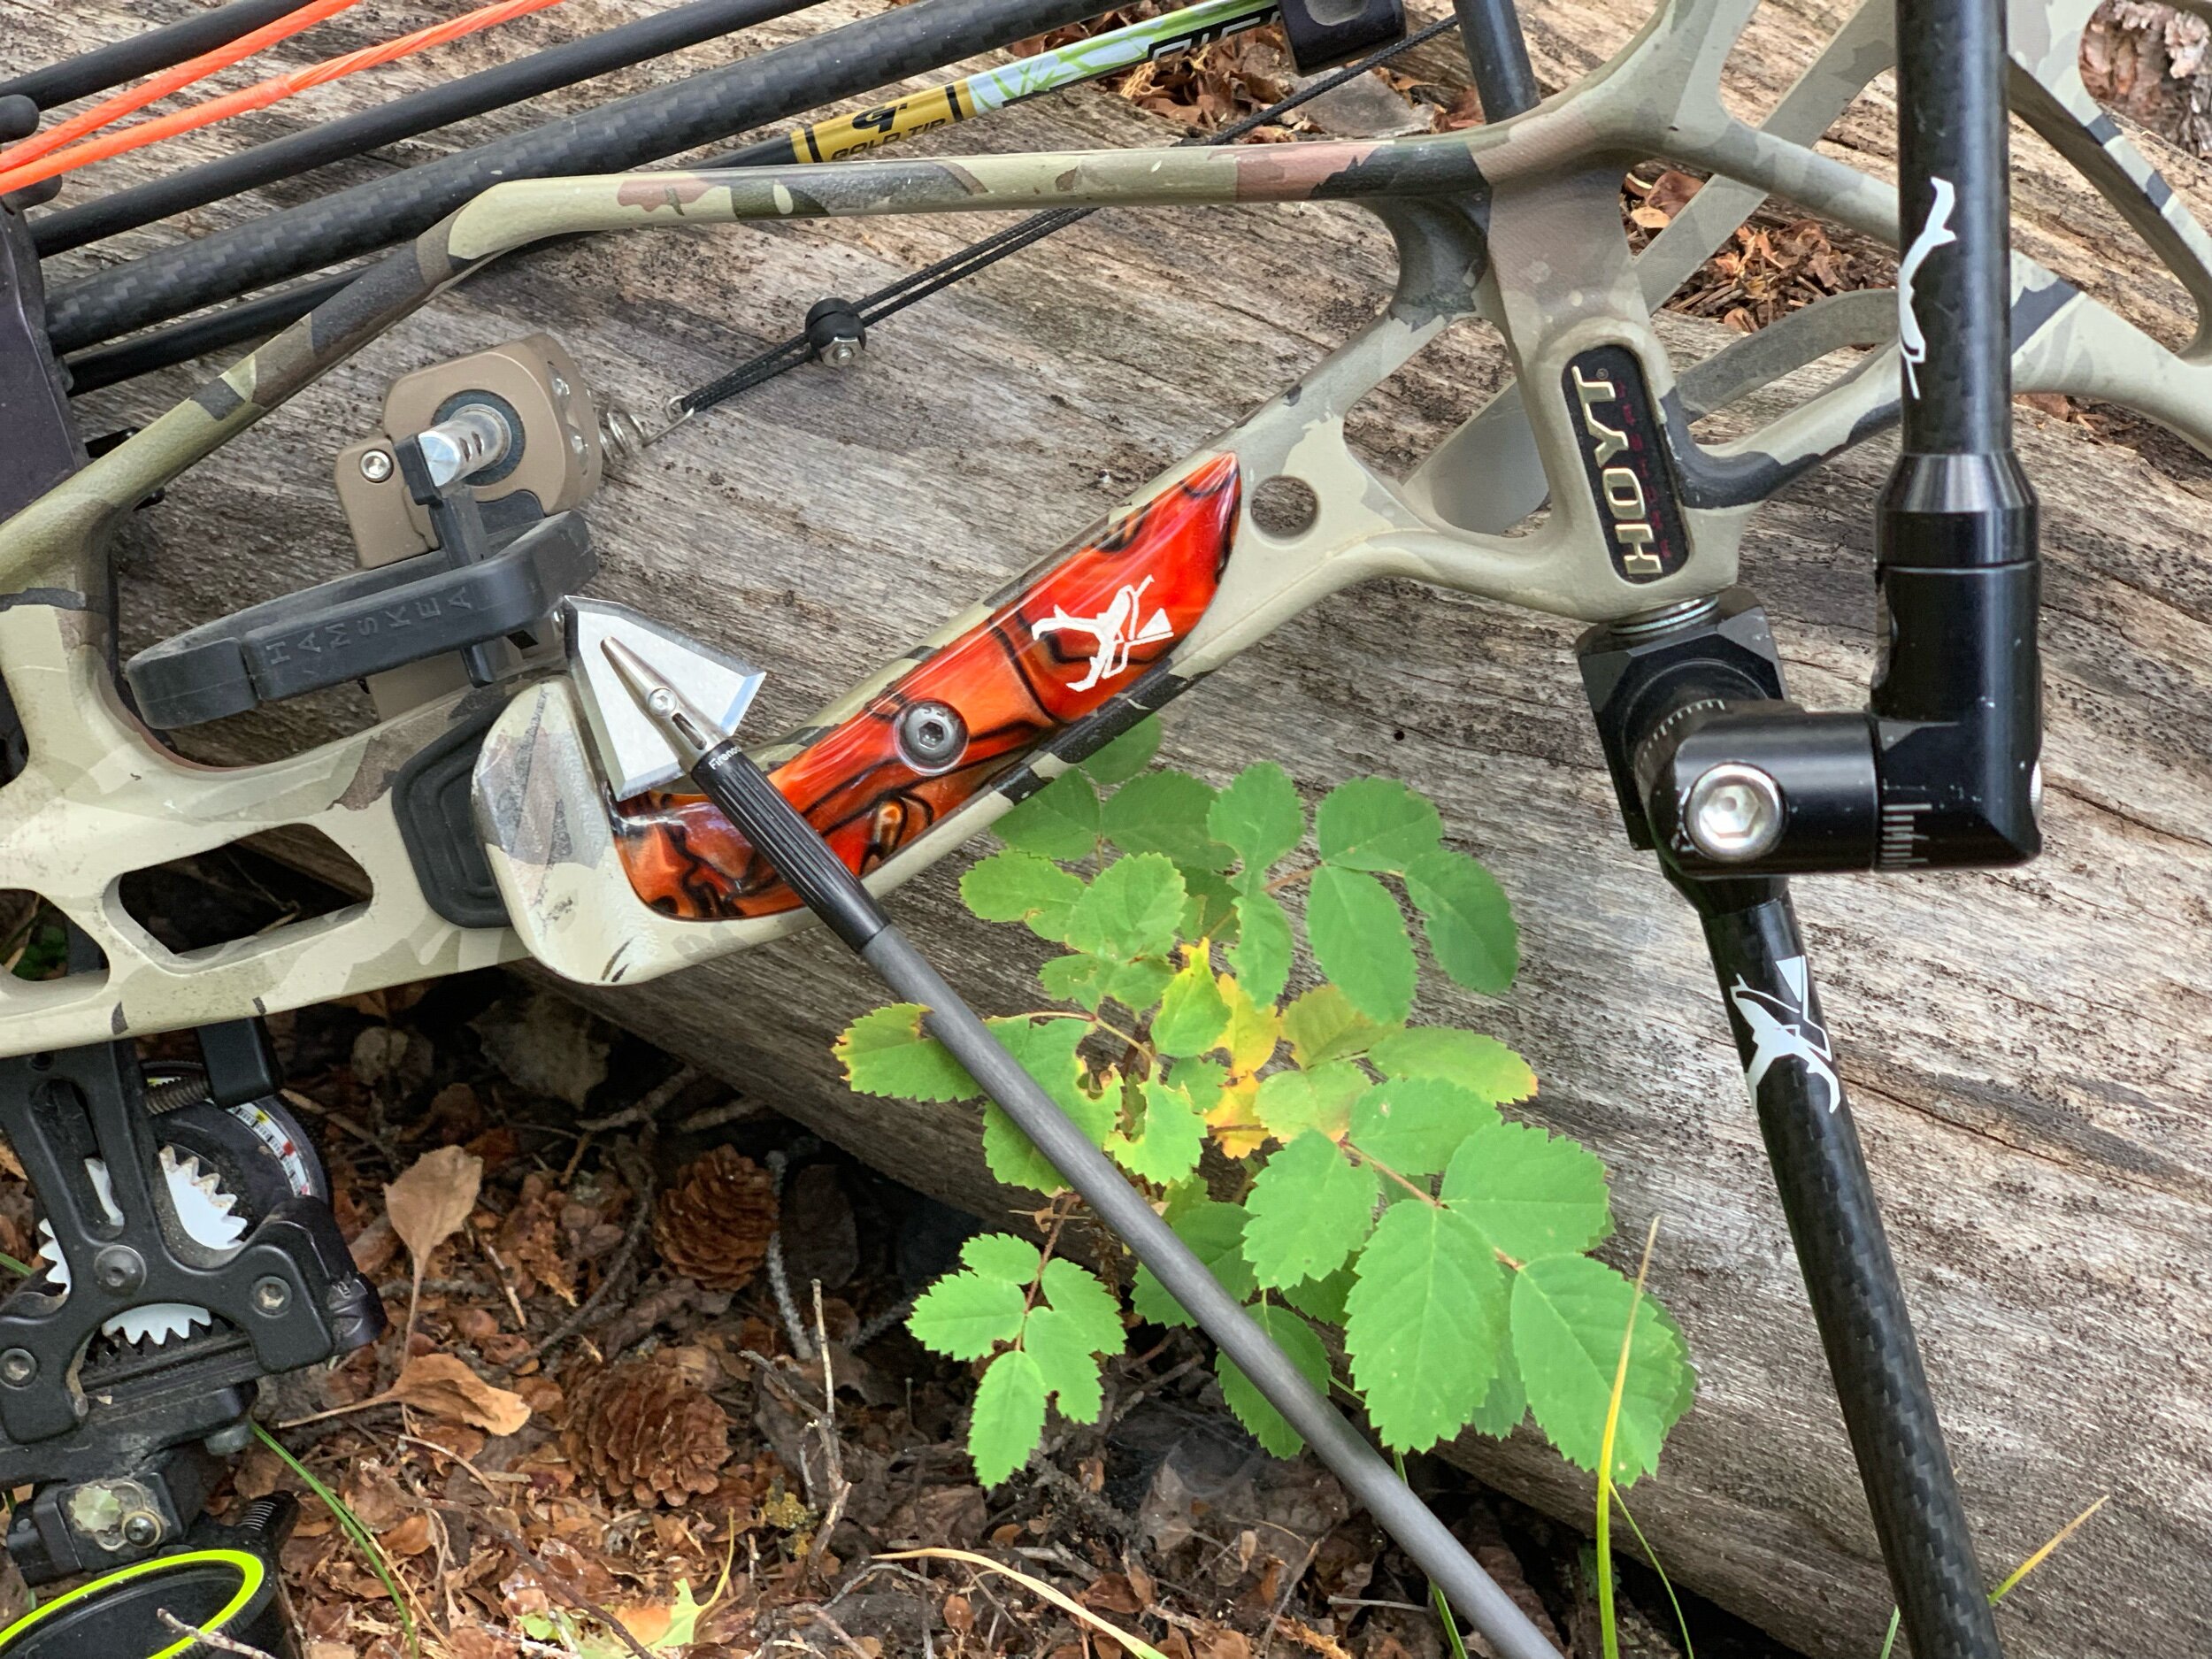
One of my favorite aspects of archery is the ability to customize my setup. I’m a gear junkie, tinkering and trying new products has always been fun. Experimentation is the best way to see how a setup can help or hinder your accuracy, and is an excellent confidence builder. Arrows and arrow setups are as widely debated as the age-old Ford vs Chevy conversation, and it usually comes down to everyone being wrong. To keep the conversation constructive and informative, I’ll touch on my personal setups that I’ve ran over the years, their pros and cons, and then dive deeper into the actual process of building those setups.
As I stated in the above paragraph, I love to try different setups. Over the past year I have built, shot, tested, and hunted with five different arrow configurations utilizing three different shaft models. Throughout that time period I have honed in on certain characteristics that I like to have more than others. For example, I was blessed with T Rex arms, so shooting a 27.5” draw length, I will never see arrow speeds in the 300s. However, I decrease the importance of speed and increase the importance of amount of range I can get out of my sight tape. I practice a LOT in the offseason, and I enjoy shooting long distance. If my sight can’t dial out past 100 yards, my arrow is too heavy for my offseason wishes. Come hunting time, that distance becomes less important and penetration becomes paramount. My ultimate goal is to find an arrow weight that is conducive to both of my aforementioned wishes.
There are three main factors that affect my choice of arrow specs. First up is performance in the wind. Second, penetration potential, and third, consistency. Let’s dive deeper into what makes up these factors and how to build an arrow that caters to all three harmoniously.
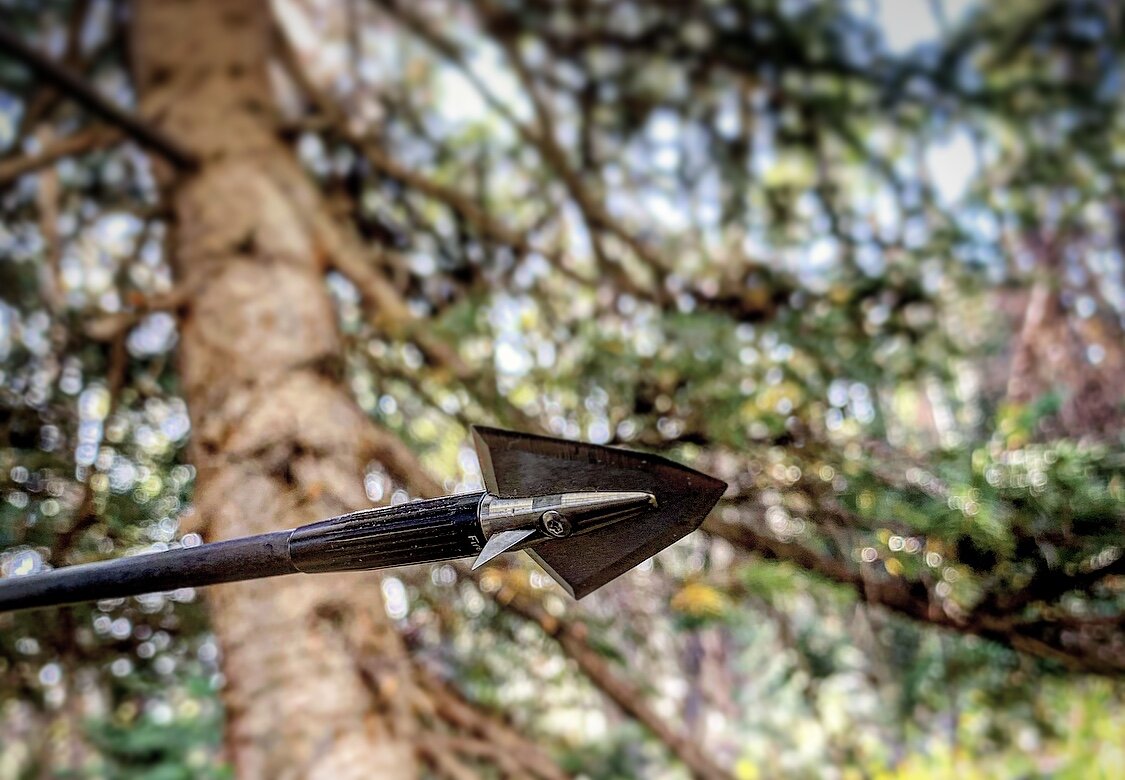
Wind performance is vastly important for a pile of reasons, from proper arrow flight to the distance you need to hold off target in a crosswind. Plain and simple, the larger the surface area, the more effect wind will cause. It is for this reason that I choose a micro diameter shaft. Vanes play a big role in arrow stabilization, but also dictate how much the wind can affect arrow flight. For a hunting setup, a good guideline for fletching is “as little as possible, as much as necessary”. The best way that I have found to accomplish this is by selecting a low-profile vane in a four fletch configuration. I like a vane with a length in the 2-2.5” range. This will provide adequate steering for fixed blade broadheads, but also cut down on wind resistance, resulting in better arrow flight in windy conditions. When it comes to penetration, it all comes down to surface area again, the more resistance, the more force is needed. This is another reason I like the micro diameter shaft. Paired with the proper vane configuration that creates proper arrow flight, the arrow will not waste energy by entering the target crooked. Point weight is one specification that is often overcomplicated. FOC, or Front Of Center percentage, is the latest buzzword in arrow building conversations. The idea is that by adding an abundance of weight to the front of the arrow, the rear is basically “along for the ride”. Proper arrow flight will always be paramount in my setup, and my point weight is essentially used to get my overall arrow weight to where I want it. A solid goal for FOC is between 12-15%, thus leaving you with more arrow options since the spine of the arrow won’t need to be as stiff as with a higher FOC setup. Consistency is a very broad factor to work from, and this case, it does cover a lot. I start my hunting arrow builds with a premium grade shaft. This simply results in tighter tolerances in straightness and weight from one shaft to the next resulting in less work being needed on my end in the build process. With higher quality shafts it isn’t too hard to get a full dozen arrows to weigh within 3 grains of each other across the entire batch. This of course results in more CONSISTENT groups at the range.
We’ve established a pretty good baseline of components, shafts, and vanes; now it’s time to build! You will need a few tools in order to build your arrows, some will come from archery sources, others from the hardware store. Below is the complete list of tools and materials needed:
- Arrow saw
- Fletching jig of choice
- Arrow spinner
- Arrow scale
- Insert glue or epoxy depending on components
- Super glue (Ultra Gel Control)
- Isopropyl alcohol
- Q tips
- Silver sharpie
- Medium grit sand paper (220 works well)
- Small wood block
- Mouse pad
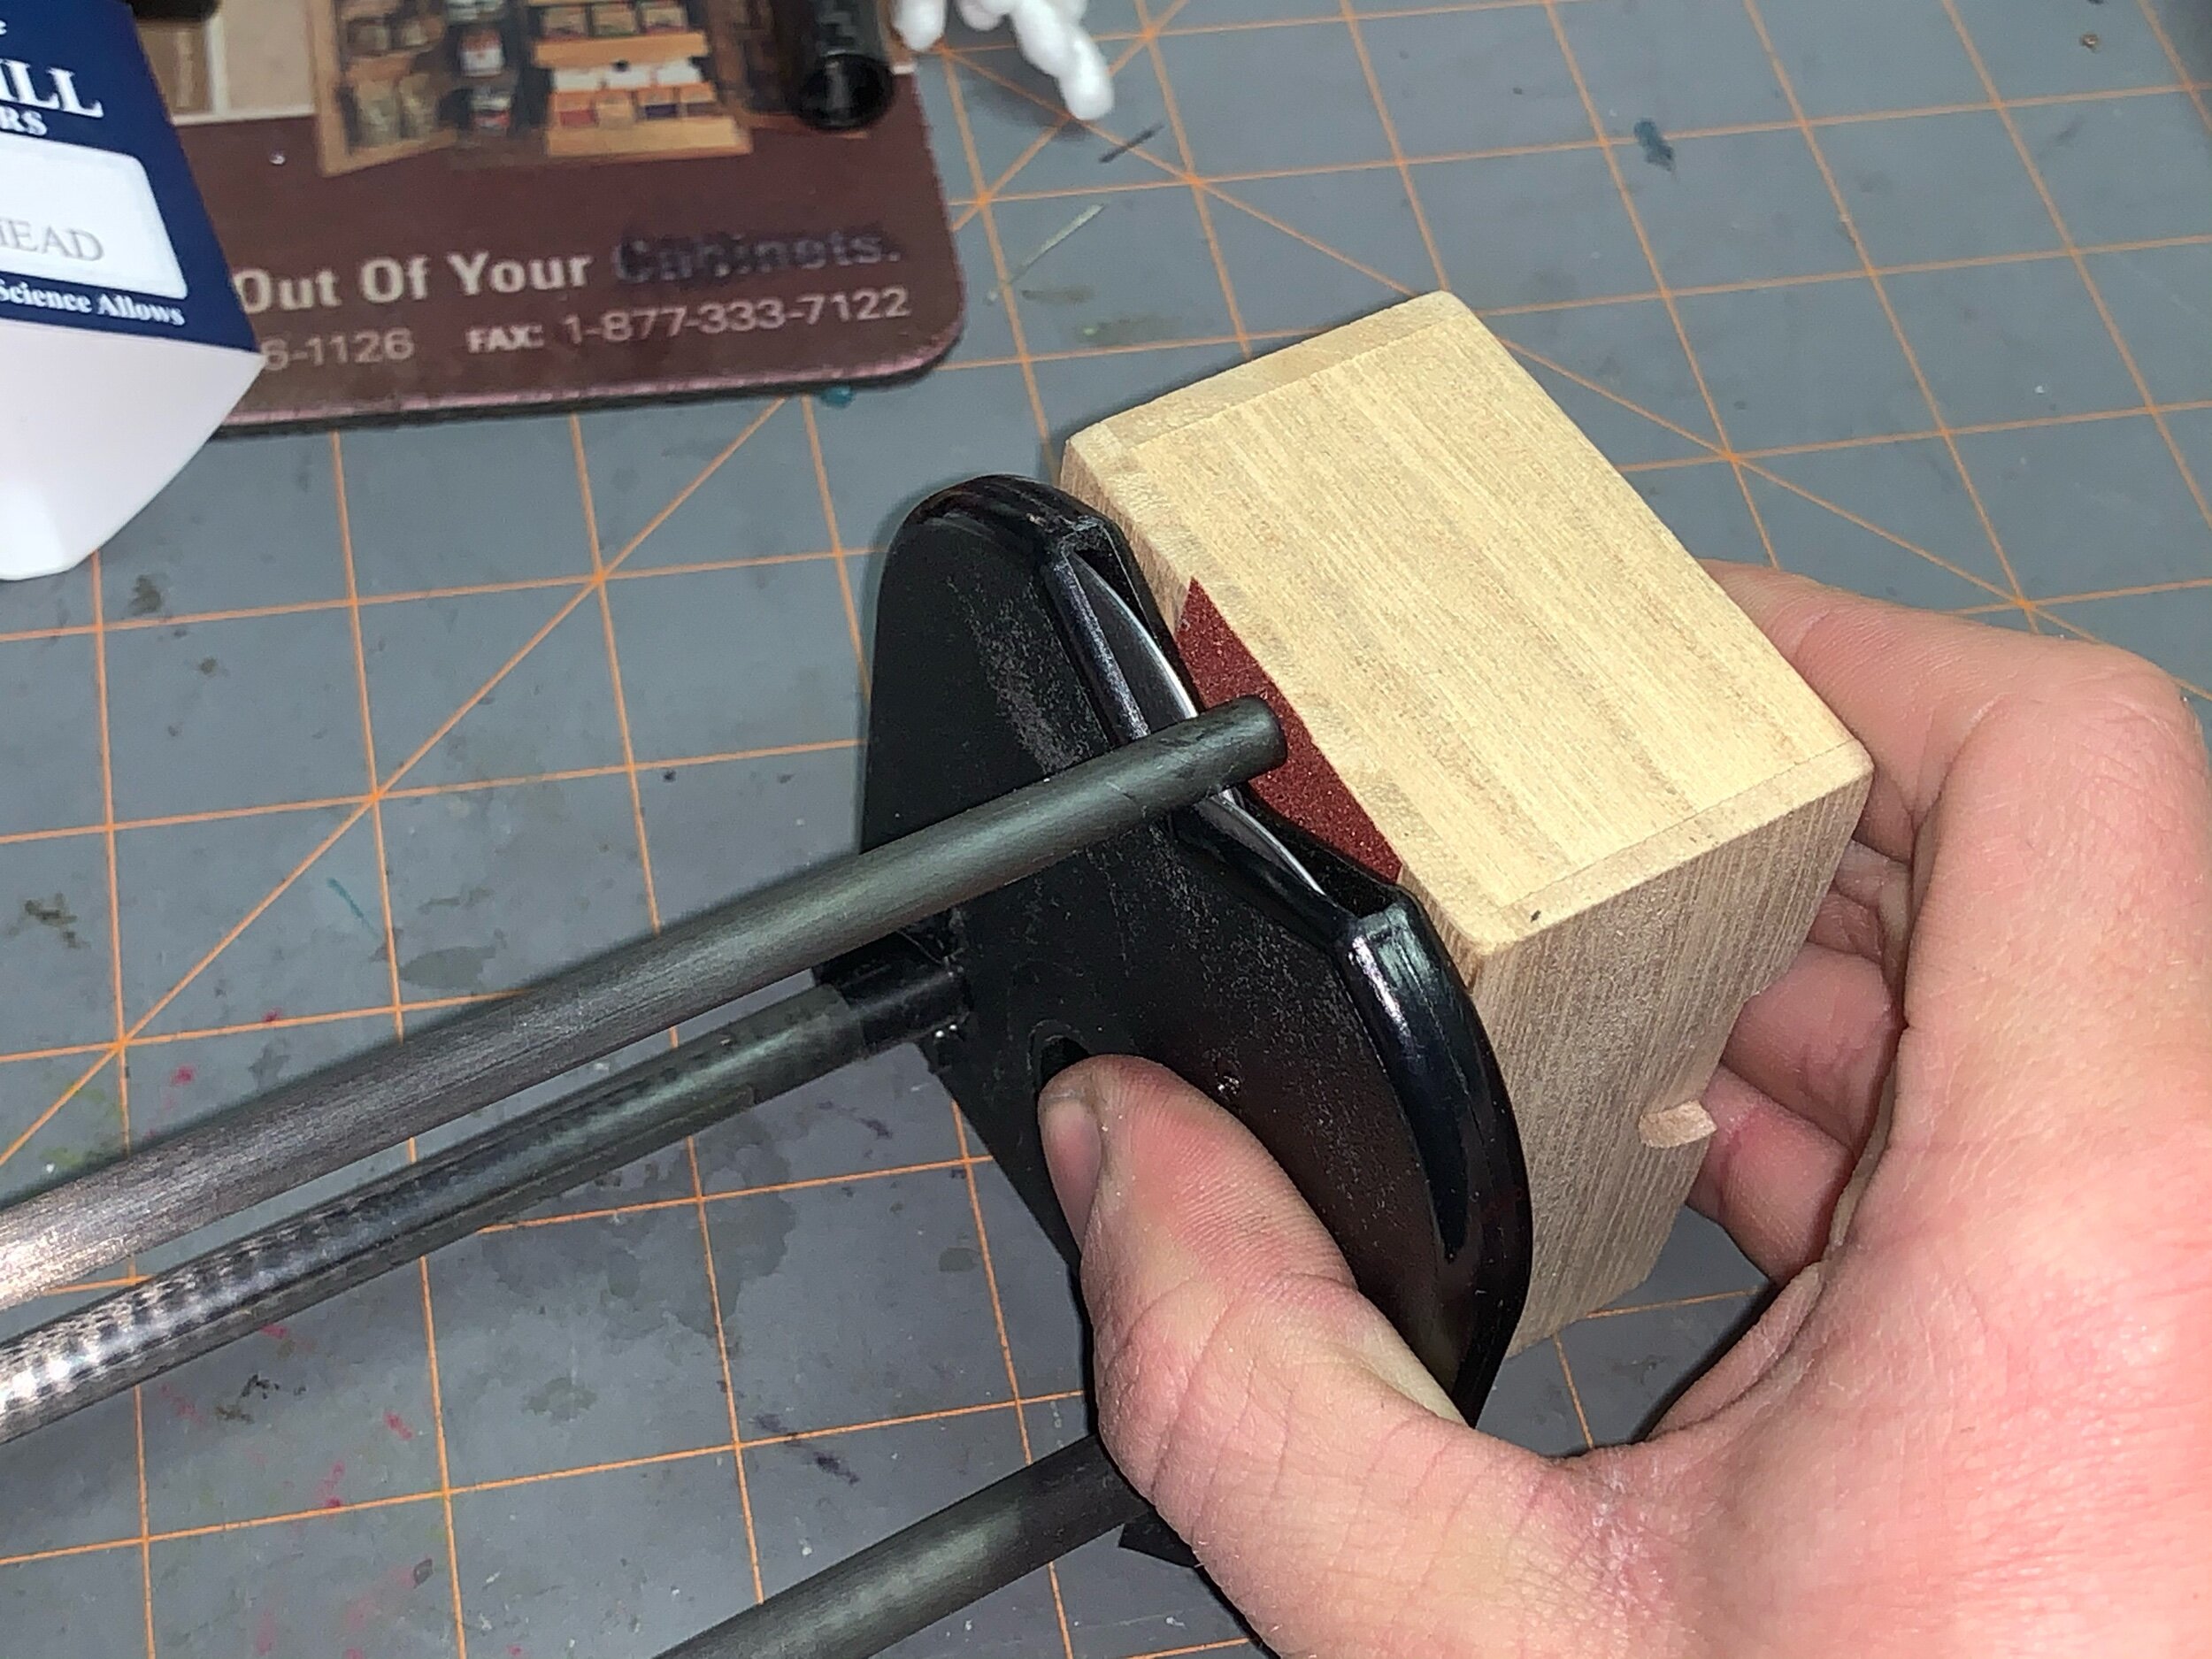
Start off by removing the nocks from your bare shafts so you are left with the plain carbon shaft. Using your arrow spinner, slowly roll the arrow, watching one end for wobble, then the other. Mark the side that wobbles the most with your sharpie, this could be one side or both may be equal. The idea is to use the straightest portion of the arrow shaft. Next you will cut the shafts to length, for the ones you marked on both sides, cut off equal amounts from each. Now move on to the final step before component and vane installation, squaring the ends. This is the single most important step to improving the accuracy capabilities of your arrows. You’ll need a small block of wood or other flat object to place behind your sand paper. With the arrow on the spinner, place the block vertically at the edge of it, and press the arrow into the sand paper (see photo). Give it a few twists and move to the other side.
You’re now ready to fletch. Take the sand paper and lightly scuff the shaft, then wipe down with a paper towel soaked in alcohol. Do not touch the cleaned surface as the oil from your fingers will decrease the adhesion of the glue. If you chose to use an arrow wrap, place it on the mouse pad, align the arrow with the edge of the wrap, press down and smoothly roll the shaft over the wrap. Repeat your sand paper and alcohol step on the wrap. Different vanes require different methods of prep, so I won’t get too detailed here, simply make sure the bottom surface of the vane is clean. Apply a thin, uniform bead of glue and let your fletching jig do the rest. I like to apply a small dot of glue to the front tip and back tip of the vane as well. After the glue is fully dried, weigh each shaft, with nock installed. Sort from heaviest to lightest. If you chose high quality shafts, the range should not be larger than 3-6 grains. Next gather your inserts, outserts, or whatever front-end components you’re using and weigh them as well, sorting from heaviest to lightest. Upon installation, pair the heaviest arrow shaft with the lightest components, lightest arrow with heaviest components, and so on. Using this exact system, I have been able to build arrow sets that had a variance of only 1.3 grains across the entire dozen.
The arrow building process I use, much like other aspects of my archery setup practices, is likely overkill, but at the end of the day I know that my projectile is as perfect as humanly possible. Knowing your setup is perfect allows you to focus on your shot execution and skill because, well, you know it isn’t the equipment that missed the shot! Knowing that you put in the effort and time to build perfect arrows will pay dividends both on the range, and in the woods. Having confidence in your setup will bring you success and a feeling of accomplishment unlike any other when it all comes together and your tag is filled come hunting season.